
This year I discovered the DigitalOcean Kubernetes Challenge and decided to give it a try. This post is going to cover what I did.
I wanted to stretch my skills so I went for one of the expert challenges. I decided for the “deploy a solution for policy enforcement” which involves deploying Kyverno. This seemed pretty interesting and figure it could solve some problems I’ve experienced with running applications on k8s clusters across multiple teams. The repo is public and under and MIT license. The README.md goes over the basics of how to reproduce, but I’ll go into more depth in this post.
Creating the Cluster #
I decided to use Pulumi again as I’m familiar with it and it makes the cluster a bit more disposable and makes the whole process a bit more reproducible. I simply copy/pasted some code from my primary infra project for my cloud based resources and added a little bit to create a DigitalOcean project to house the cluster so it doesn’t pollute any existing projects for anyone trying to reproduce this.
Deploying Kyverno #
This was also pretty easy as Kyverno provides a Helm chart and Pulumi makes deploying helm charts a breeze. I simply created a dedicated namespace and deployed the chart. Once this was done I could simply pulumi up and have a working Kyverno install.
We can verify that the pod is there by running kubectl get pod -n kyverno after getting the kubeconfig from doctl.
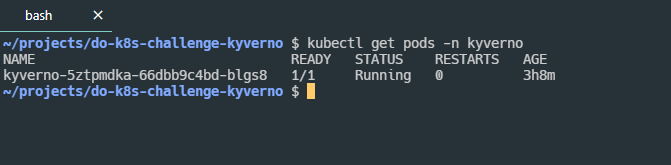
However the pod alone doesn’t actually do anything for me. I needed some policies.
I decided that I wanted my policies to be applied as part of the provisioning of the cluster as they feel like infrastructure components since they are enforcing standards across the cluster. I created a
policies folder and put my policies there, and told Pulimi to just apply all yaml files in that folder.
Writing policies #
I pretty much just followed the
Kyverno quick start guide but modified it to look for a app.kubernetes.io/owner label rather than just the name. Nothing to crazy but felt more relevant to what I wanted to use Kyverno for long term. This pretty much was it
Testing #
Now in order to verify that this were working and Kyverno was actually going to do what I wanted I had to write a couple of deployments that wouldn’t be allowed to be created, and some that were. You can find my testing options in disallowed-resources and allowed-resources in the repo for this project. They are just simple nginx deployments, nothing fancy.
In order to test I just kubectl apply -f disallowed-resources/deployment.yaml which gave me the following.
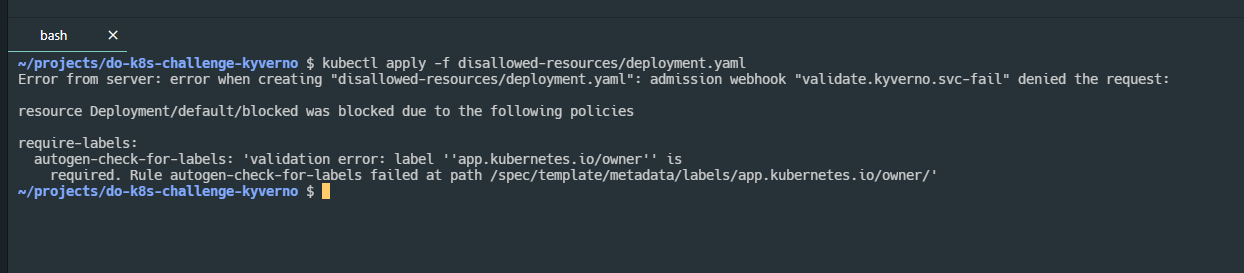 Given that this is the disallowed resource this is what I wanted. This deployment doesn’t have the required label. Running
 kubectl apply -f allowed-resources/deployment.yaml gives me the following.
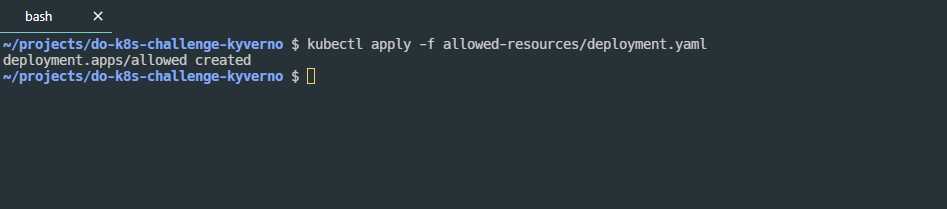 We can verify this and run
 kubectl get pods and see that we have a pod up and running.

Wrap up #
All that’s left to do is simply tear everything down with pulumi destroy.
That’s pretty much it, nothing super crazy. Hopefully this wasn’t hard to follow, and what I did here lets you get started quickly using Kyverno to write policies that are applied with Pulumi to the cluster.
This was a super fun challenge and it introduced me to a new tool that I’ll likely be using in the future. Thanks to DigitalOcean for the challenge, it was a lot of fun!